A Fast Pen Plotter
Table of Contents
Introduction
Pen plotters are extremely simple machines by nature. Most commonly, two axes are manipulated to move a print head to a desired location on a flat surface. Below offers a quick example:
Pretty neat?
Principles
Kinematics
One thing you may have noticed in the above video is that there’s no clear mechanism for moving the ‘print head’ around the coordinate system. It’s all contained internally within the segments of extrusion. This is a very clean look and very uncommon.
The mechanism in question is commonly referred to as ‘H-Bot.’ This is not to be confused with a more popular kinematics option called ‘CoreXY,’ which is a prevalent design choice among 3d printers.
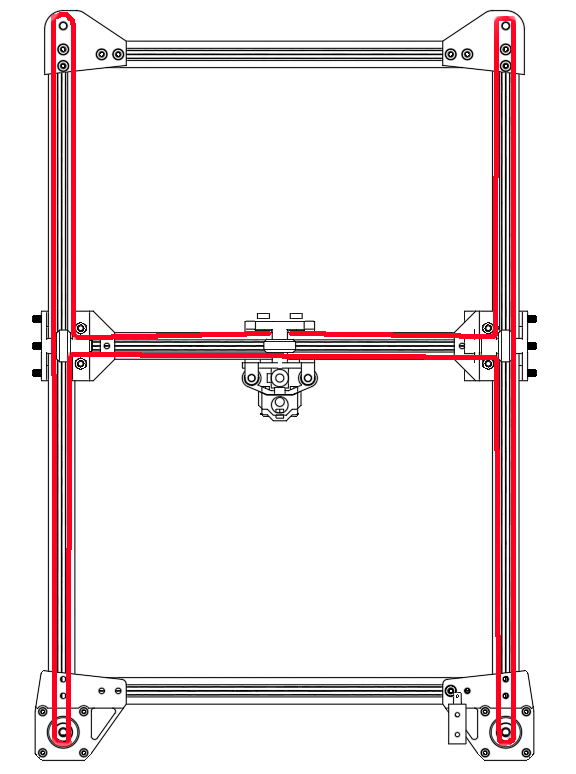
The main principle between both of these options is that there is a continuous section of belt running throughout the extruded segments and terminates on each opposing side of the print head. Then, through clever manipulation of the motors, the print head can be maneuvered throughout the plane without directly mounting a motor along the y-axis.
Electronics
The electronics is seemingly an already solved problem. Extremely cheap Arduino hats are sold for very cheap for this exact purpose.
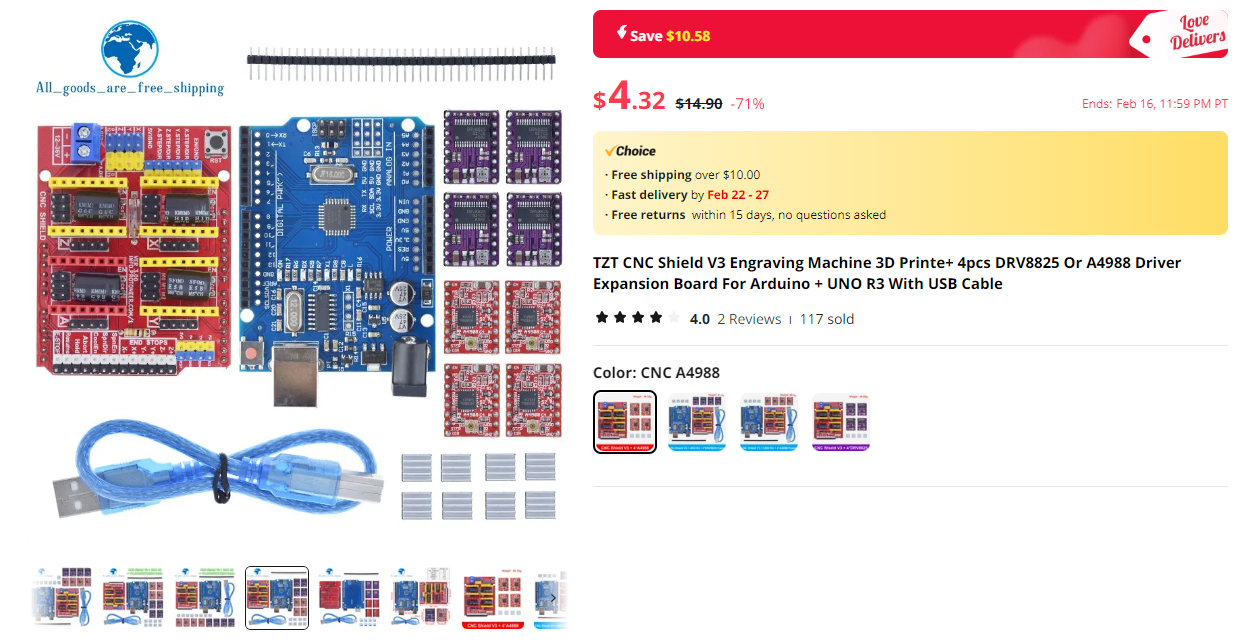
These are slightly different from what might be used in a 3d printer in just a slightly agitating way. The main distinction is that these boards expect CNC-flavored G-Code.
Drawing
Drawing is hopefully a simple task. The reference design at the top uses a solenoid to force a pen or marker into the work surface. The benefit of this is that no intricate mechanisms are needed on the Z-Axis. An on/off (drawing or not drawing) level of granularity is sufficient.
Designing
It pains me to say this, but I skipped documenting a lot of the design process for this project. In place of that, I do have a few highlights which I found interesting.
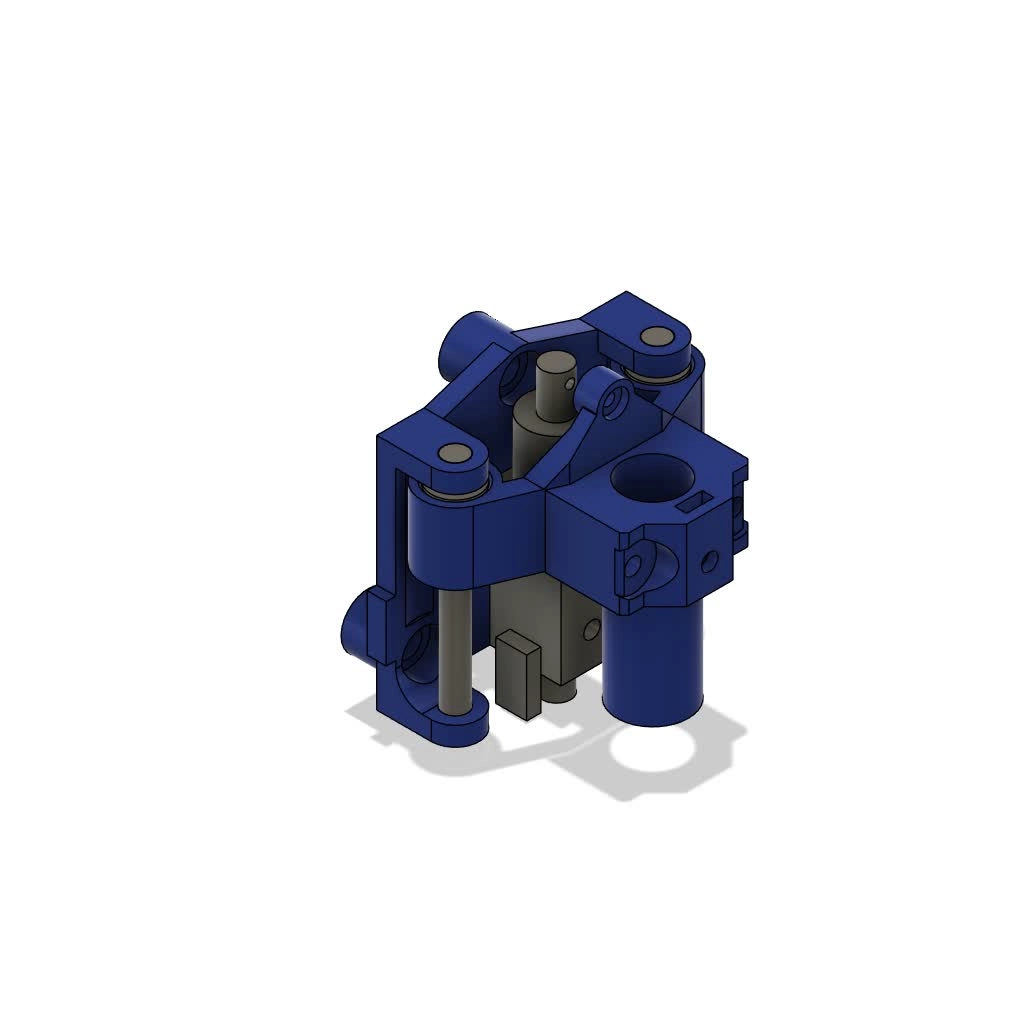
Z-Axis Simplification
I originally designed the Z-Axis to have 4 grooved bearings riding within a small groove. This mechanism proved to be completely unstable and not fully constrain the motion of the pen. It’s easy to overlook the small forces at play but the multiplication of these forces by the lever of the pen dragging on the work surface made a redesign unavoidable.
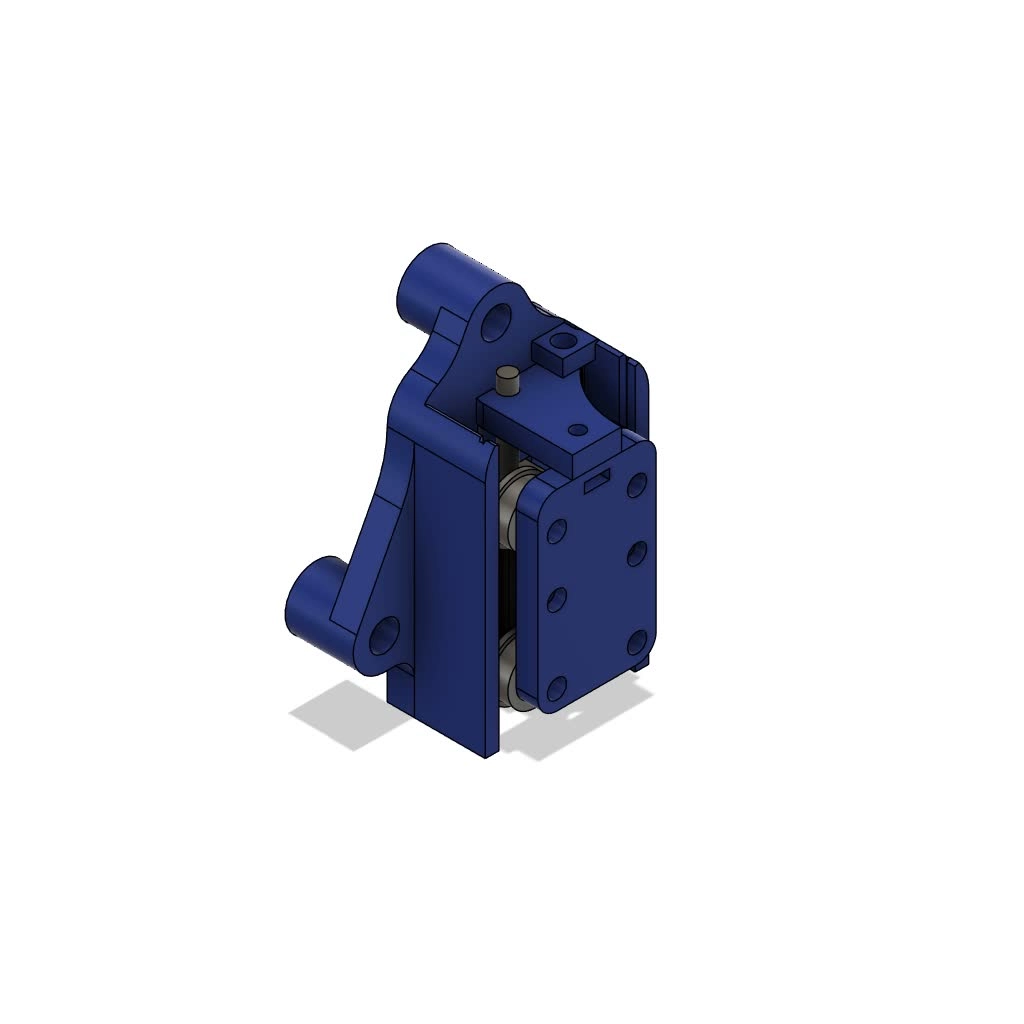
My next attempt replaced the grooved tracks with 2 linear rails:
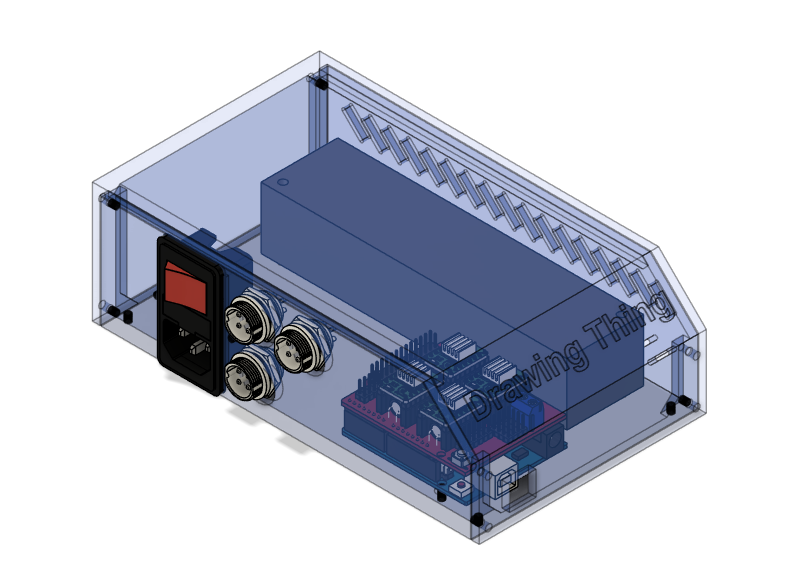
Electronics
It’s never fun to have your electronics spilling out onto your work surface, so I designed a nice little enclosure to keep things tidy:
Assembly
This phase went pretty smoothly since there isn’t a great number of complexities. I’ll use this section to share a few milestones.
Initial Kinematics Tests
Refined Kinematics Tests
First Drawing Test
This test is interesting. You’ll notice that the print head isn’t doing anything. That’s because the mount connecting the z-axis motion to the solenoid melted mid-print. This part was initially printed in PLA with is going to lose a great deal of its strength in any amount of heat. Reprinting this part in PETG raises the temperatures that can be withstood significantly.
Final Product
Here’s the final product. To preempt the obvious, the camera work is substandard—hopefully I can reshoot this in the future.
Drawing(s)
I did not get the time to capture too many drawings made on this machine, but here is one of my favorites:

There’s still some room to improve (emphasized by the first travel move not properly retracting the print head) but it’s not that bad.
Model
Conclusion
Well… that’s it. I don’t think this machine is going to win any awards, but it definitely tops my jury-rigged pen plotter made about 2 years earlier on my first 3d printer:
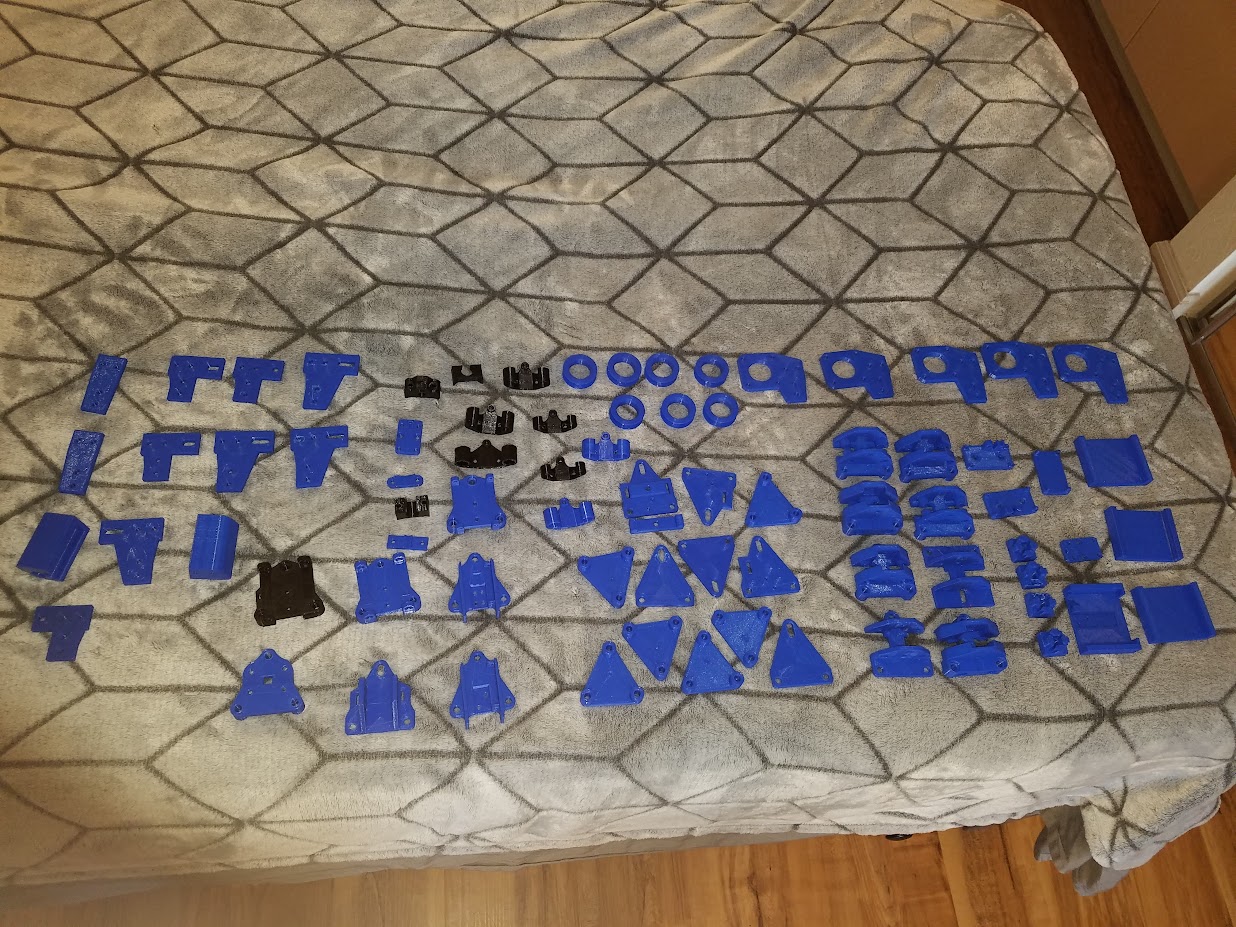
I’ll end with my favorite picture of the entire project. It’s near-impossible to do something perfectly on your first try. I certainly attempted to but fell well short of this ideal. A lot of the parts had to be re-printed and re-designed several times before they would even fit together. Below is an image of all the parts that didn’t make it into the machine.